Export to comparison
Overview
The CAMAG documentation instruments (Visualizer and Scanner) produce 3 types of data: images, profiles and spectra. This data can be found in the tabs Images View, Profiles View and Spectrum Data respectively in visionCATS analysis. Each of these tabs contains an Export to comparison function described in this section, which represents the main way to populate visionCATS comparison files in order to perform cross analysis data comparisons.
The Export to comparison functions always display a popup where the user can choose:
what to export, by default the data currently displayed is selected, and
the destination comparison file.
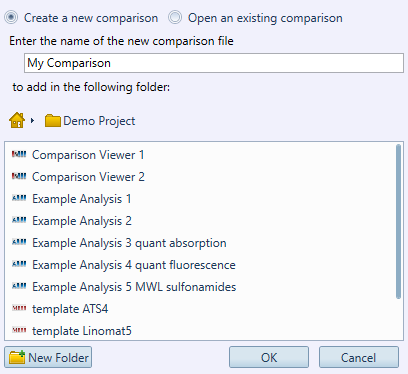
When no comparison file is currently opened, it’s possible to create a new one or to open an existing one to add the selected data to:
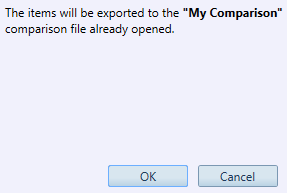
When only one comparison file is opened, visionCATS exports automatically to it:
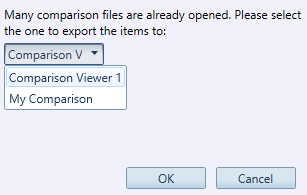
When many comparison files are opened, the user has to choose the one to export the selected data to:
When exporting analysis data to comparison, some aspects have to be kept in mind:
The destination comparison contains a copy of the data of the source analysis, therefore, deleting the source analysis will not delete the corresponding data in the comparison.
The destination comparison keeps a link to the source analysis, which allows the user to use the Search base analysis explorer function on the comparison and the Search associated comparisons on the analysis.
When re-exporting analysis data to a comparison already having data coming from the source analysis, the data is merged in the destination comparison. As a result the data coming from the 2 exports will be available.
Re-exporting data to a comparison is not allowed when a redo of the analysis has been done (or when the RF Tool has been modified in case of images or profiles export) between the 2 exports.
Images and profiles export to comparison
When exporting images and/or profiles from Data View:
Use the checkboxes to choose the type of data to export (images and/or profiles), the steps and the illuminations/wavelengths
For Visualizer steps, profiles can be selected and exported only after having hit the Generate profiles button
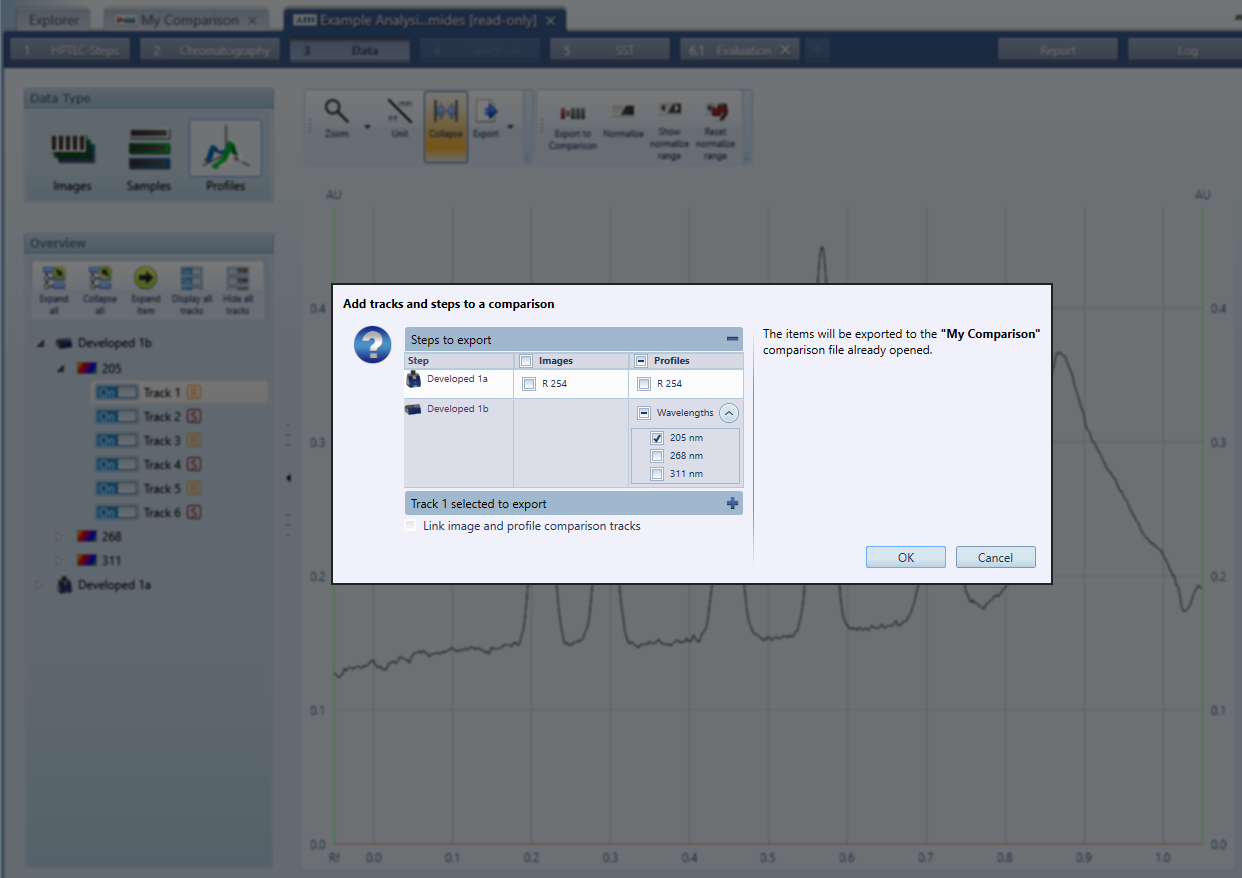
Expand the track selection part to further select the tracks to export
Use the Link image and profile comparison tracks option (only available when some images and profiles are selected) to synchronize image tracks and profile tracks in the destination comparison. When using track synchronization, any modification to an image track is reflected automatically to the corresponding profile track, and vice versa.
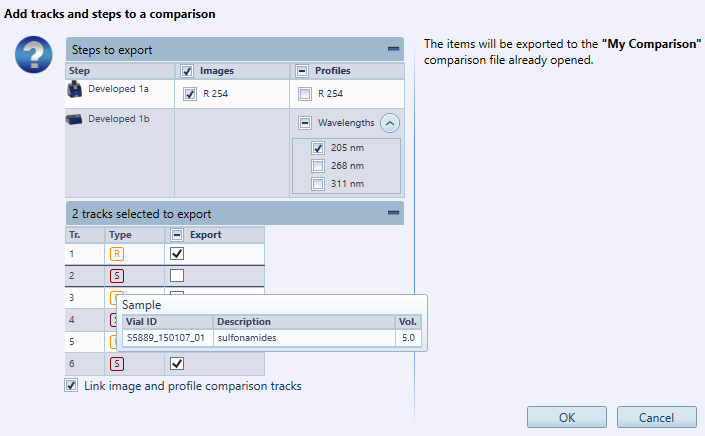
When exporting images and/or profiles to a comparison, each track selected in the export to comparison popup appears as a new track added to the Samples list in the corresponding comparison tab(s). Therefore, with the previous example, 2 images tracks and 2 profiles tracks will be added to the My Comparison comparison file.
Note
When exporting image tracks, the White balance and Normalize exposure parameters set in the analysis are also applied in the tracks shown in the comparison, but other parameters, like Clarify, are not applied.
Spectrum export to comparison
When exporting spectra from Data, a tree view of the spectra to export is displayed.
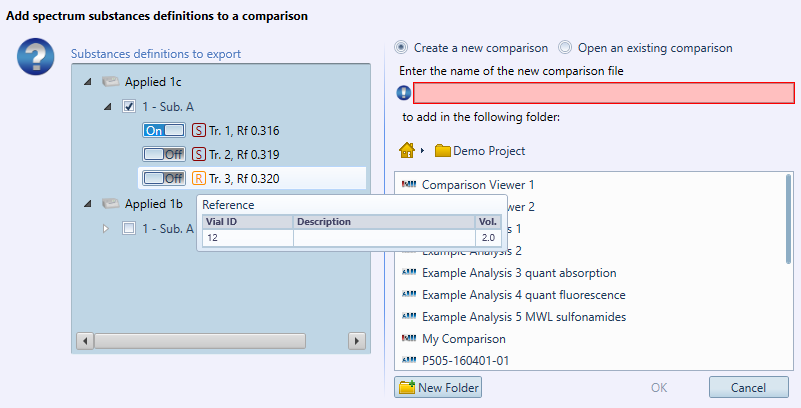
By default, the currently displayed spectrum(s) are checked. Use the check boxes and the On/Off switches to further refine the items to export. In the destination comparison, there will be one spectrum item for each substance definition checked. In each spectrum items, all tracks will be available but by default only the ones switched On will be displayed.