Instrument step execution
For each step of a analysis appear first an instruction and then the execution.
Instruction display
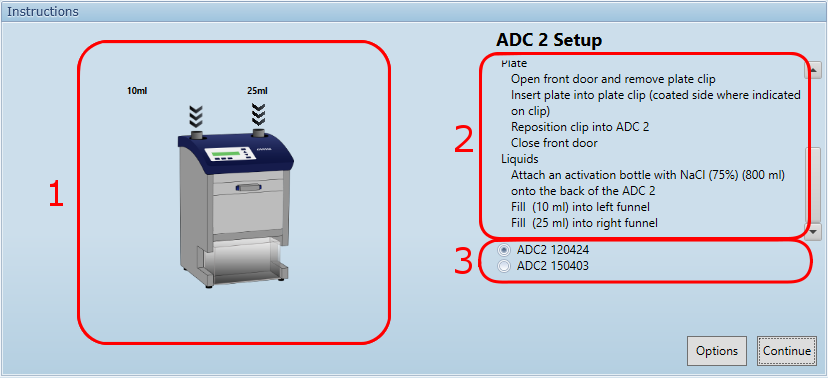
Each instrument has a specific list of preparation (2), related to the Instrument step parameters, with a corresponding animation (1).
For connected instrument, one or more instrument(s) would be listed (3). Select the desired one, before starting the execution by clicking on Continue.
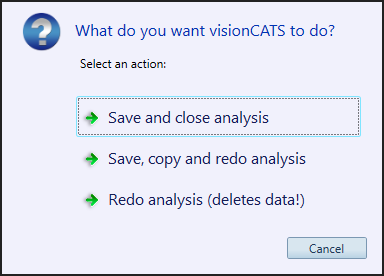
With the Options button, it is possible to do several actions on the analysis:
Important
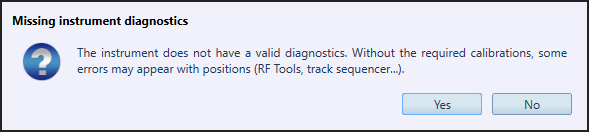
Missing instrument diagnostics: if no valid instrument diagnostics were found for the selected instrumnet, a warning will be displayed when trying to start the step. It is advised to stop here (No), and then do the diagnostics before running the step. But it is also possible to continue to execute the step (Yes) without the diagnostics, at the risk that the missing instrument calibration may impact the results.
Execution display
With most instrument, you only need to wait for the end of the step before accepting it.
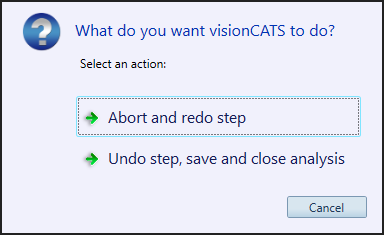
With the Options button, it is possible to abort the step:
But with data acquisition steps, the data should be validated (awaited images or profiles) before accepting:
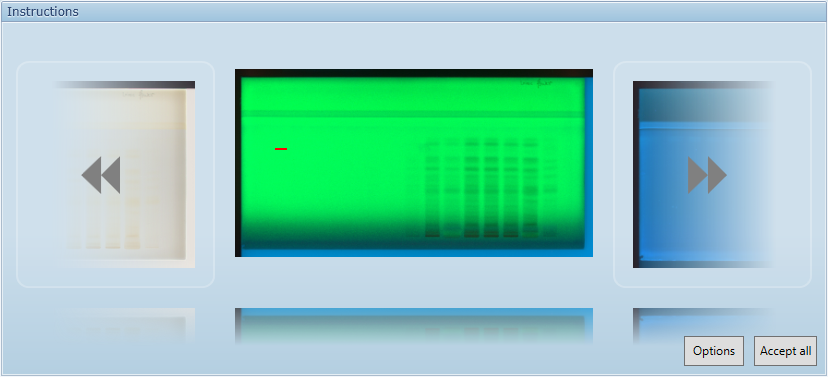
Visualizer/Visualizer 2
You can navigate between the images with the left and right buttons, and each image can be displayed in full size by clicking on it.
If an image sequence is programmed, it is possible to stop the capture midway with Finish (only already captured images would be used). Otherwise, wait for the capture of all images to finish and click on Accept all.
Note
The area used to determine the automatic exposure is displayed in red. If it isn’t on a track (plate defect…), the exposure may not be optimal.
Important
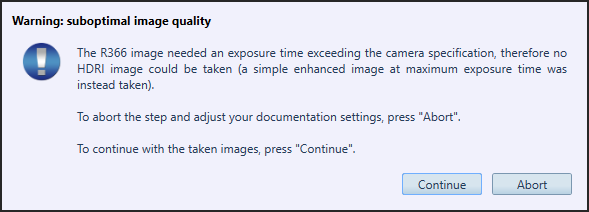
After accepting (or finishing), visionCATS will check the quality of each image, and display a warning if the quality is suboptimal.
When taking HDR images, the plate may be so dark (low fluorescence) that only the first image can be taken, the others would have an exposure time exceeding the limit of the camera (Visualizer: 10 seconds; Visualizer 2: 60 seconds). Therefore, the resulting image quality would be lower than in the normal case. It is then possible to abort the step to redo it under different conditions (like increasing the gain in manual exposure mode, or redoing the whole analysis because the plate’s fluorescence has decayed).
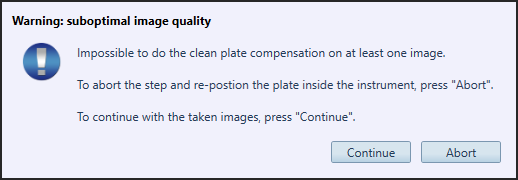
When clean plate images are available, Clean Plate Correction is available for all illuminations expect R366. But if the plate is wrongly positioned, the correction may not be possible. It is recommended to re-position the plate before starting the capture again (in extreme conditions, the automatic correction may still not work).
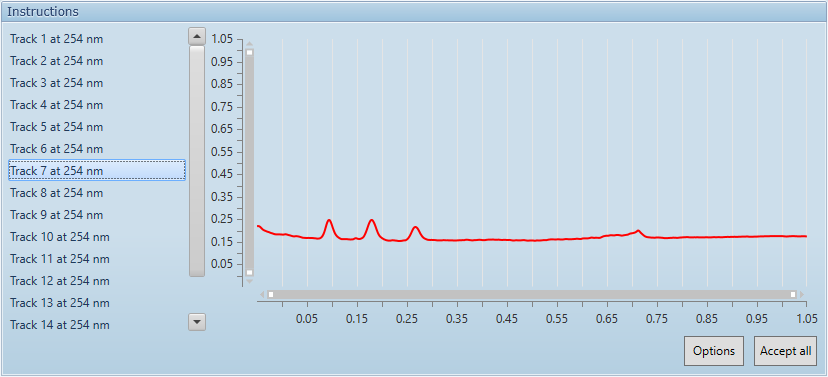
Scanner 3/Scanner 4
You can display the profile of each track. If they aren’t like awaited, it is better to abort the step, change the scanner parameters and restart the scanning.