Setup
To use HPTLC PRO Modules, a setup procedure should be followed:
Put each HPTLC PRO Module in place, and link them together as described in the instruction manual of each module. The recommend order, from left to right, is:
Connect all cables and hoses to the modules (current, USB, air, extraction, etc.)
Connect the whole CAMAG® HPTLC PRO SYSTEM via USB to a PC with a HPTLC PRO Instrument Service
Start visionCATS, with an user being a HPTLC PRO administrator
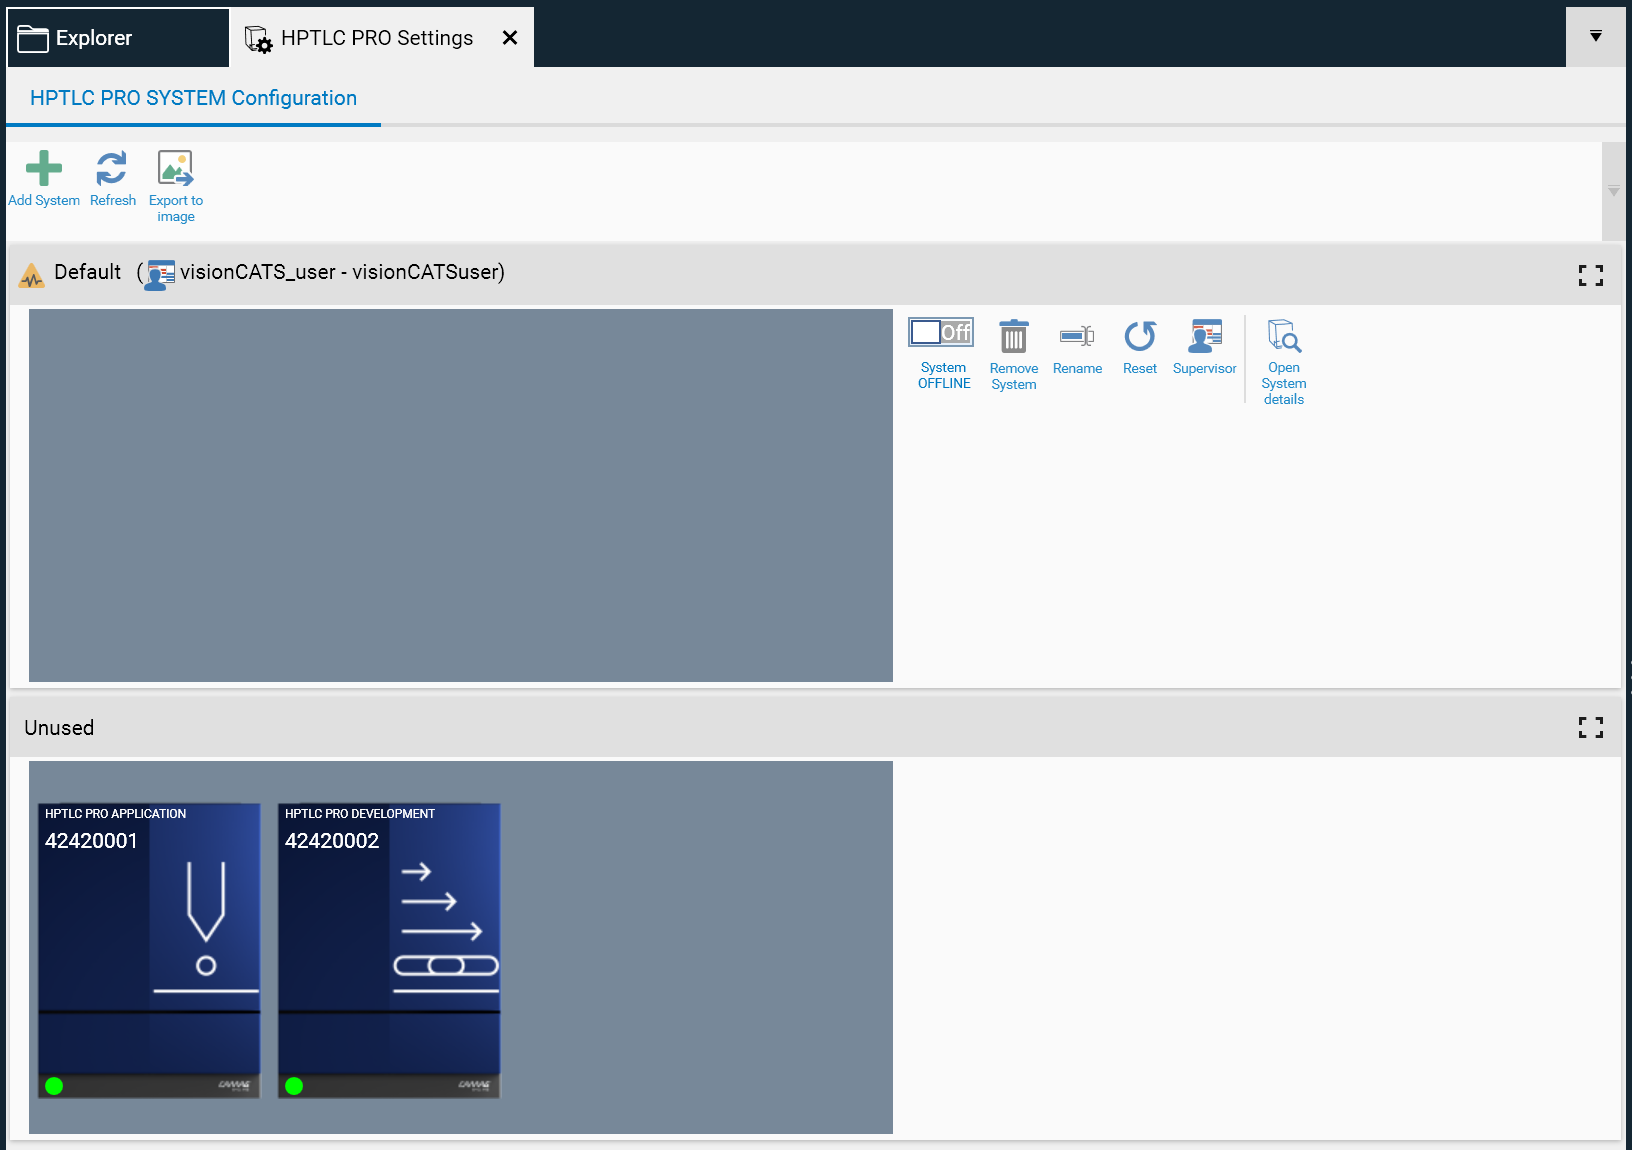
Open the CAMAG® HPTLC PRO SYSTEM Configuration window
All the newly connected HPTLC PRO Modules should be in the Unused HPTLC PRO SYSTEM row
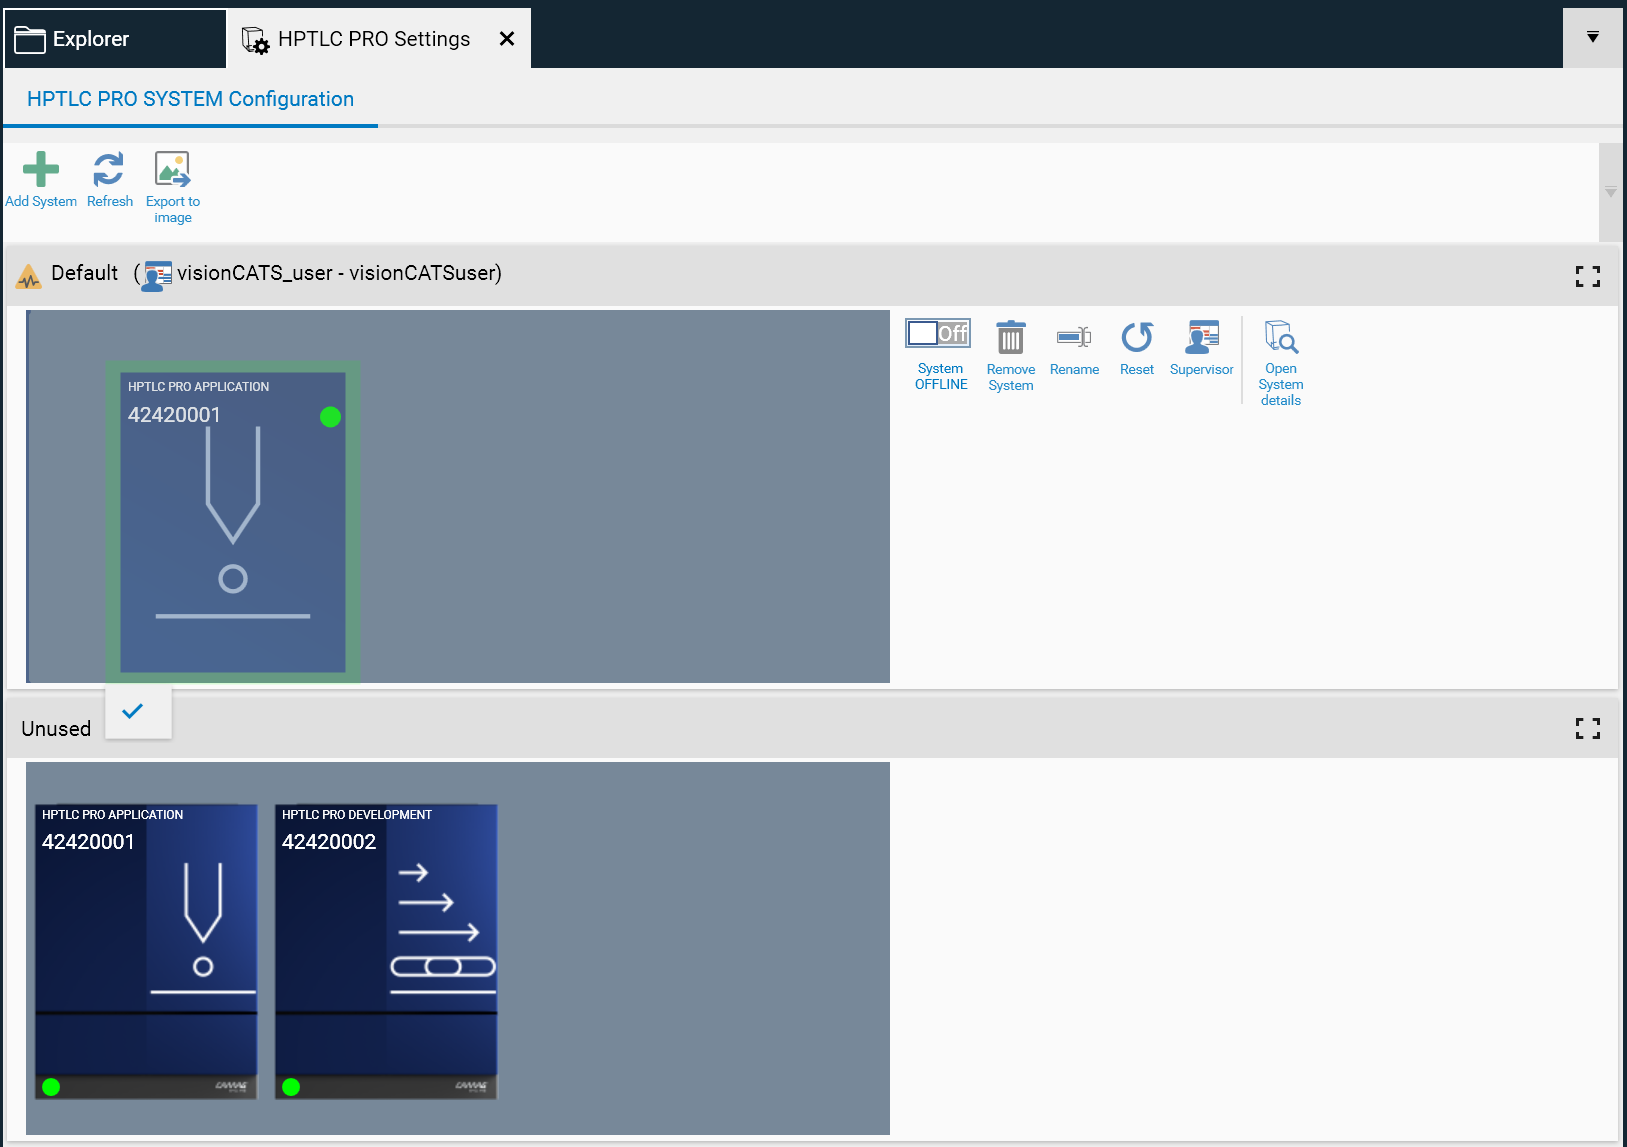
Drag each HPTLC PRO Module icon on the Default HPTLC PRO SYSTEM row (or any other HPTLC PRO SYSTEM already created in visionCATS). Take care to place them in the same order than the physical modules.
Important
HPTLC PRO Module can only be dragged over offline HPTLC PRO SYSTEM (marked with a gray background).
Note
The HPTLC PRO Module PLATE STORAGE must always be placed at the first place on the left of the HPTLC PRO SYSTEM.
Enable the HPTLC PRO SYSTEM, the initialization will automatically start. See Understanding the HPTLC PRO Module and CAMAG® HPTLC PRO SYSTEM initialization.
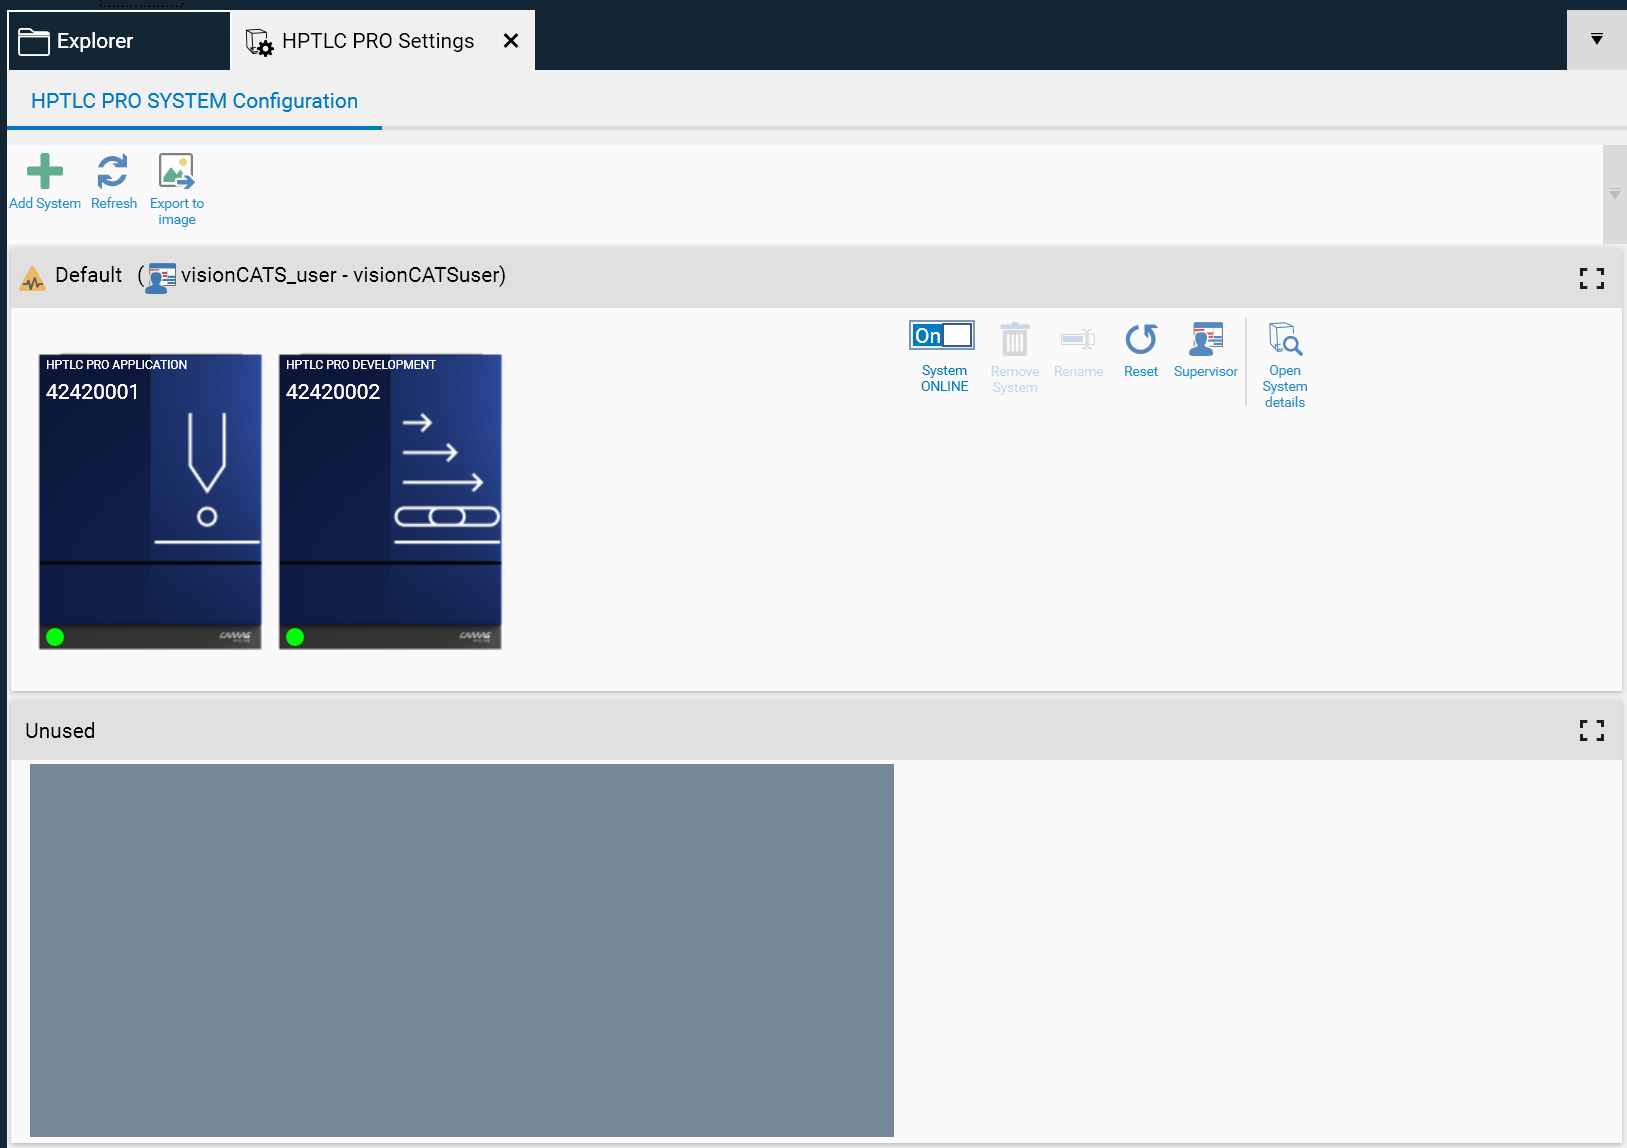
Now the HPTLC PRO SYSTEM can be used